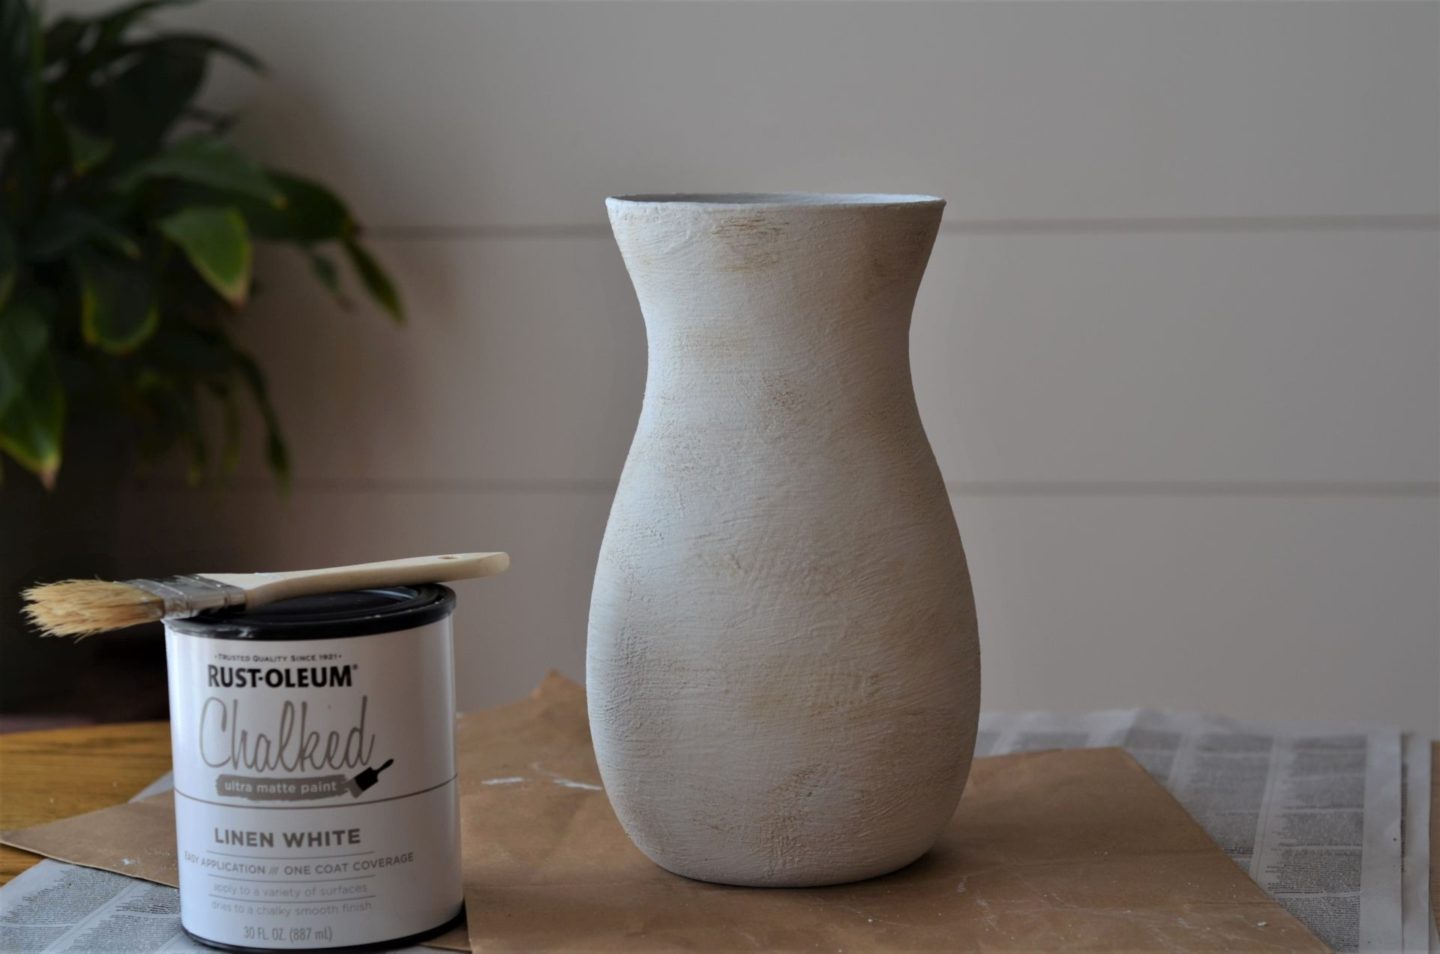
I love the look of aged pottery. Mugs, bowl, plant pots, vases, you name it. They just seems to exude character and uniqueness. However, I do not love the price of aged pottery as they are a bit out of my budget. But hey, who says you can’t have beautiful and unique pieces on a budget?! After scouring through Pinterest for a bit, I quickly found a couple different DIY methods to upcycle an old glass vase and transform it into a faux pottery vase. The good news is you can make your own pottery vase with a small amount of money – considering an actual pottery vase can range from $100 – $400. I already had the vase, brush, and baking soda, so this project only cost me about $15 for the chalk paint.
In just four steps, I’m going to show you a simple way to upcycle an old vase into looking like a high-end pottery piece.
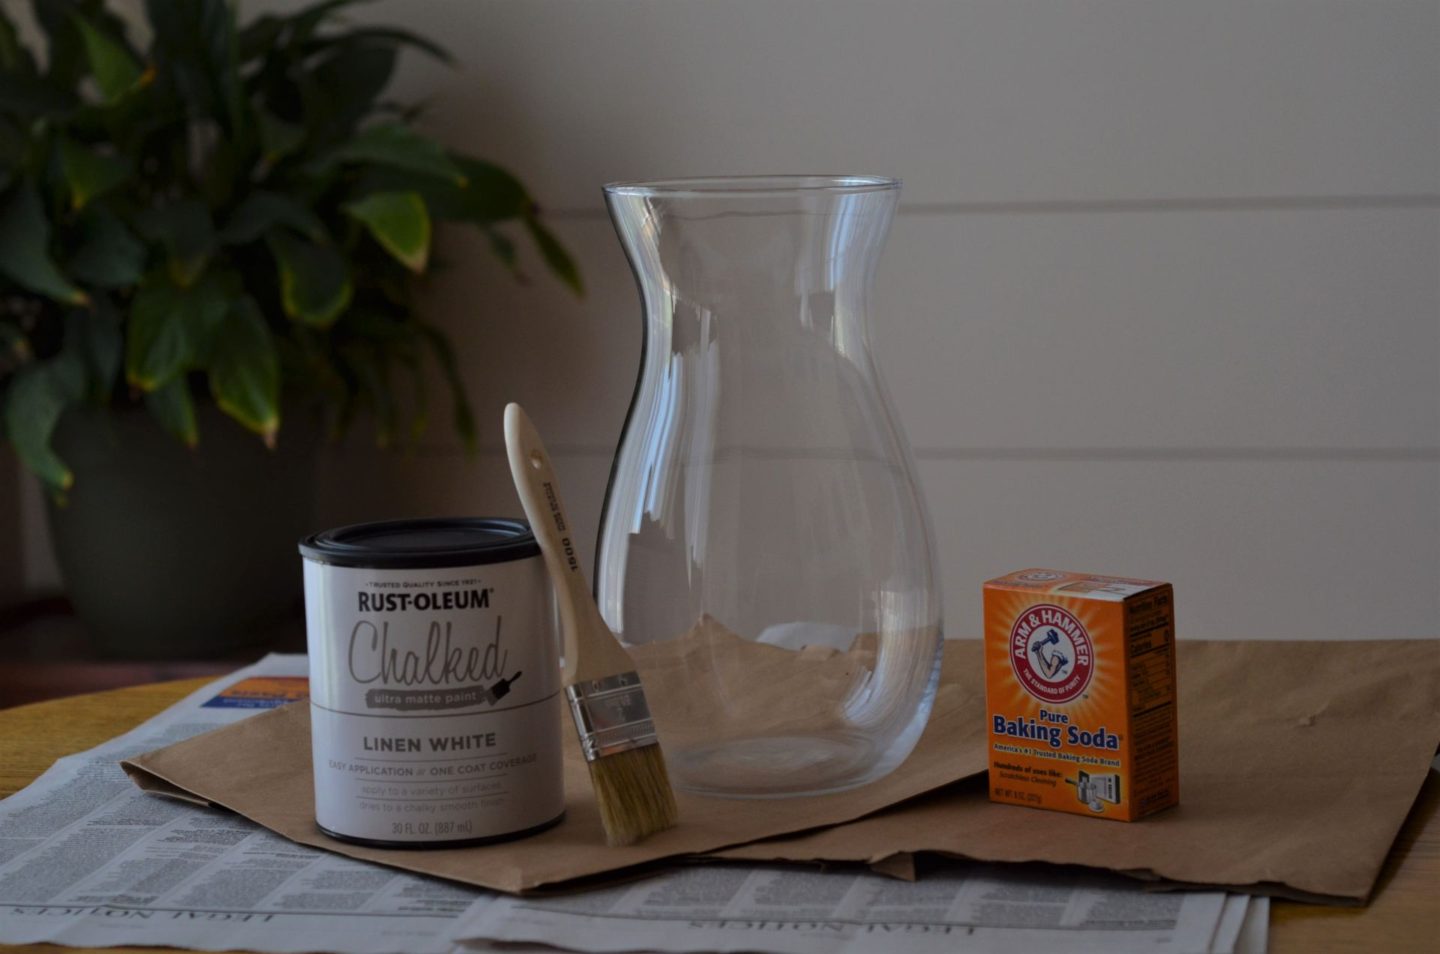
Items needed:
- Baking Soda
- A small bristle brush
- Chalk paint (I used Rustoleum)
- A plastic cup or mixing bowl
- A bit of dirt from the backyard
- An old/new/thrifted vase
Step 1:
Find an old vase that you want to upcycle into an aged pottery statement piece. My favorite place to find cheap vases is Goodwill or Salvation Army. You can even find some cheap ones at Walmart or the Dollar Tree. Maybe you even have one lying around the house somewhere, collecting dust in the closet. The one I had was glass, but I’m sure this method would work on just about any material.
Step 2:
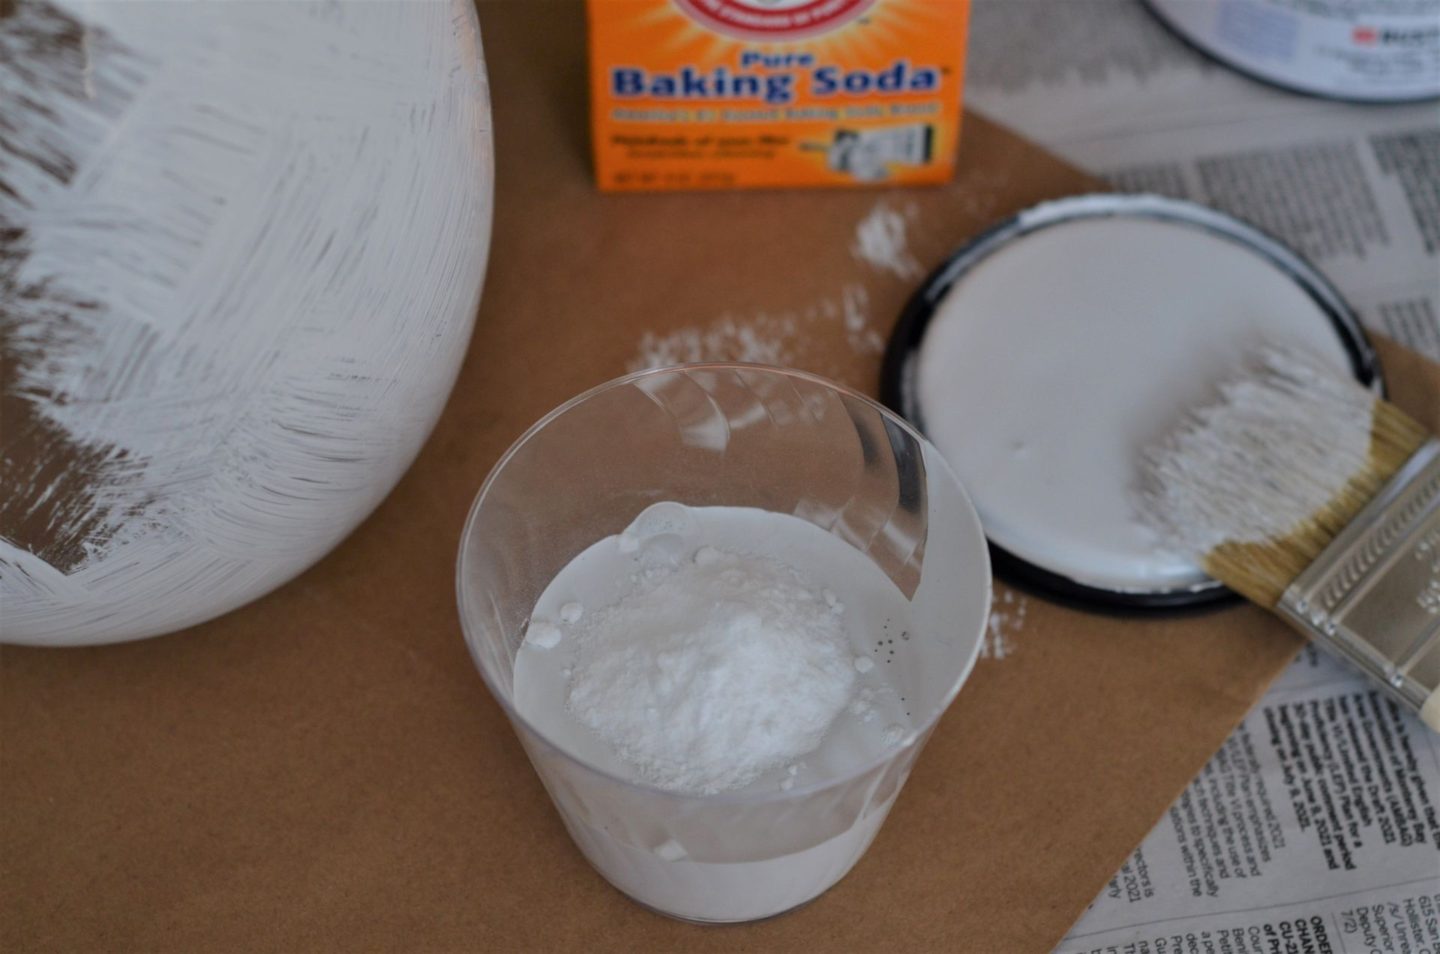
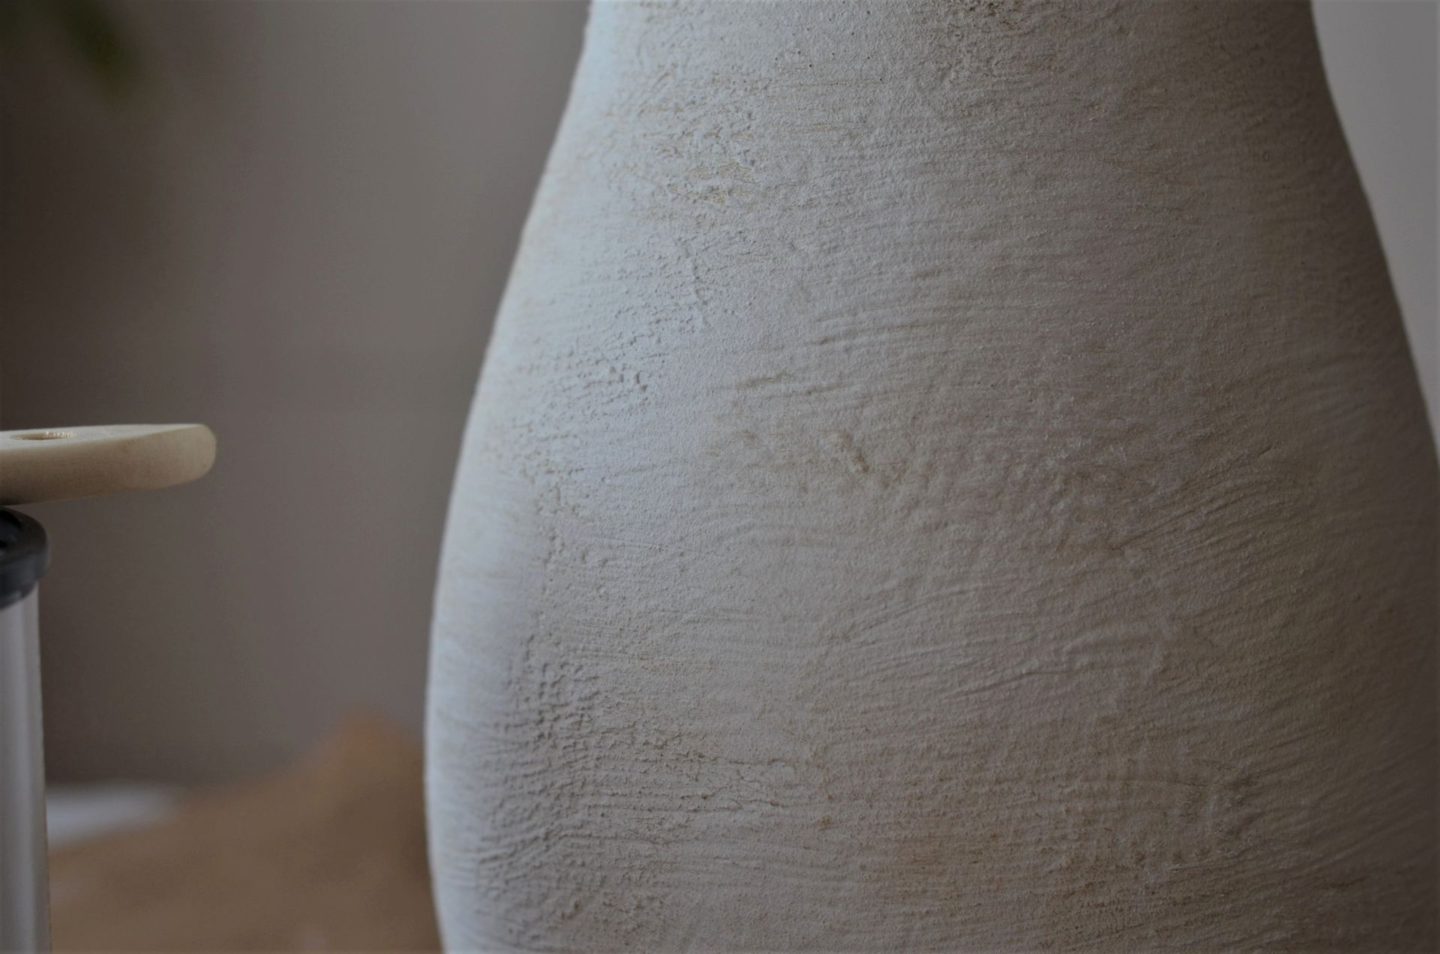
Mix some chalk paint with baking soda in a plastic disposable cup or small mixing bowl. The color I used was Linen White by Rust-Oleum. I used baking soda in addition to the paint because I really wanted a lot of gritty texture. If you want a more subtle texture, then go light on the baking soda. Add as much or as little to get the consistency and look you want.
Step 3:
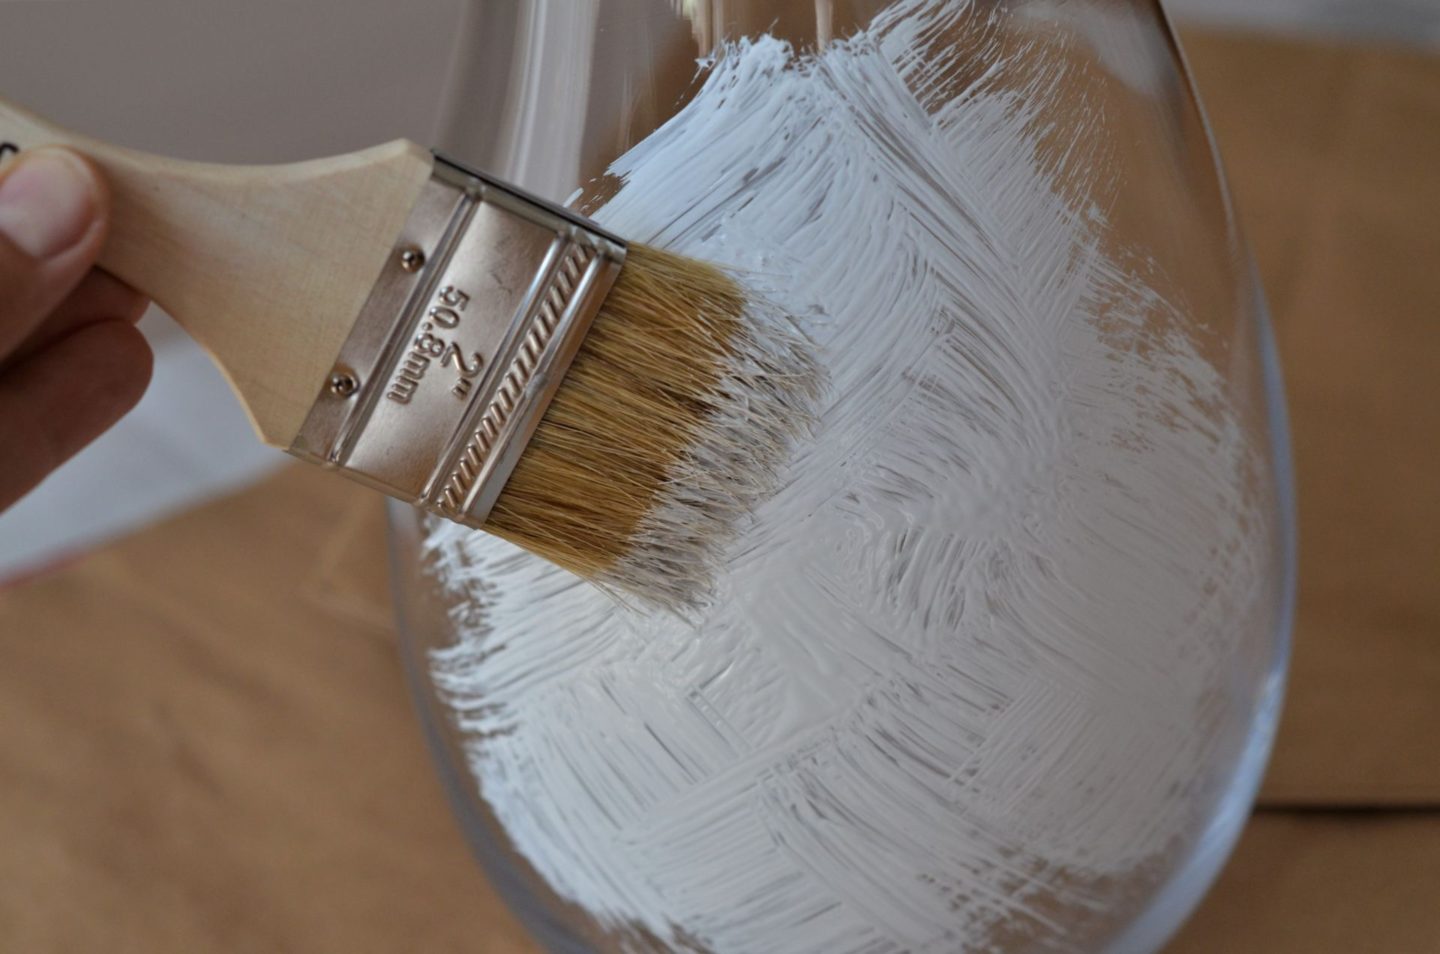
It’s time to paint your vase! I experimented a bit with brush strokes – alternating directions and adding thicker spots here and there for a more uneven organic look. Feel free to make it your own! If you are using a glass vase, the strokes will be a bit more noticeable, so take that into consideration. I ended up doing two coats, letting my vase dry in the warm sun in between coats. It only took about 15 minutes to dry.
Step 4:
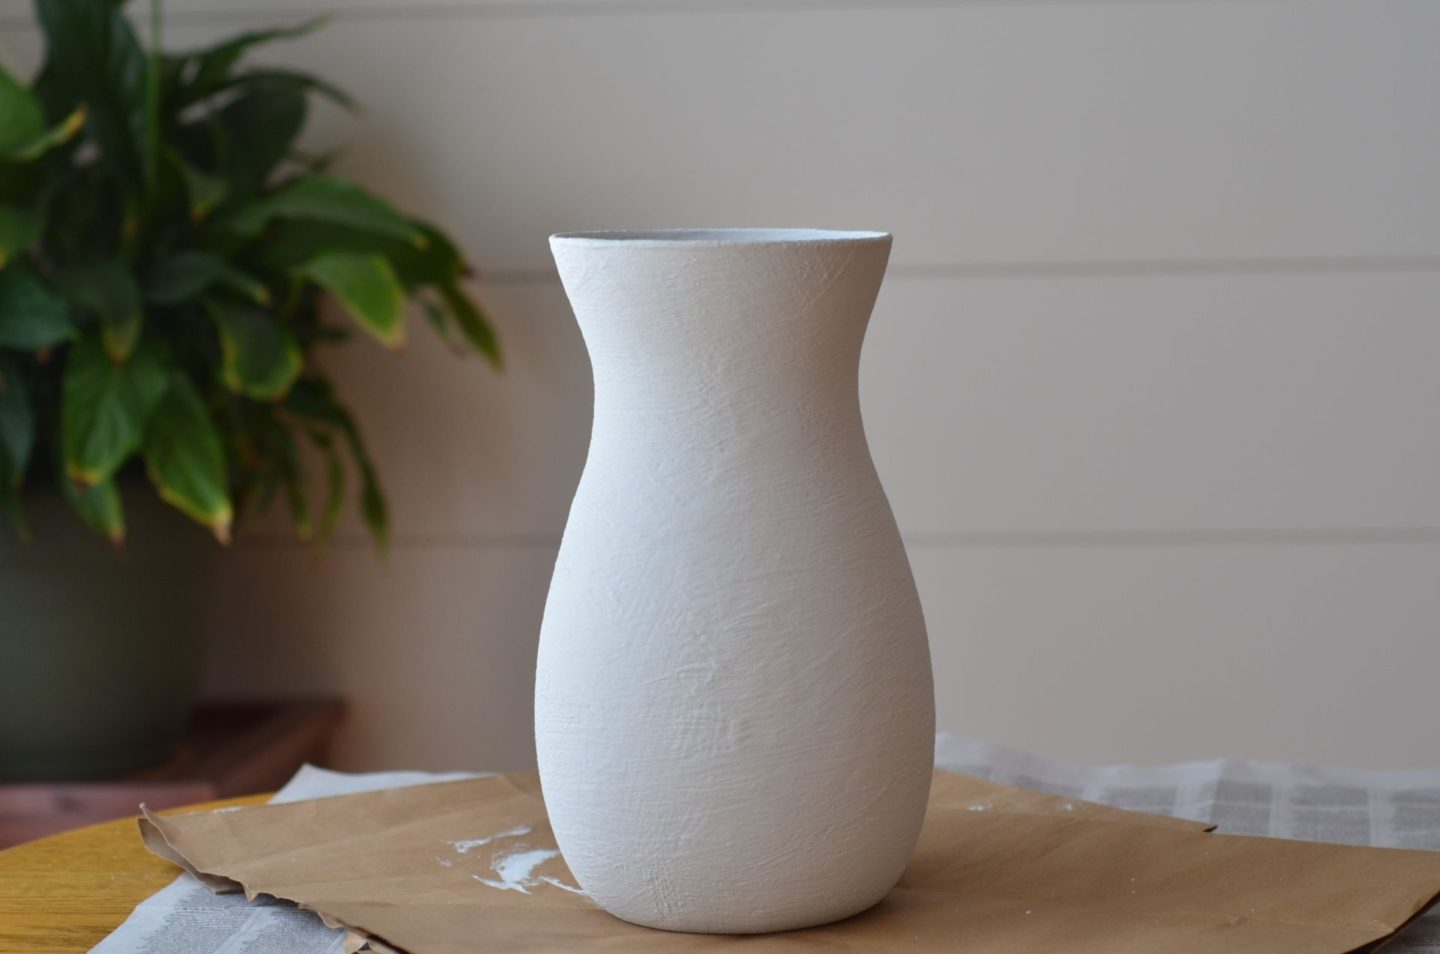
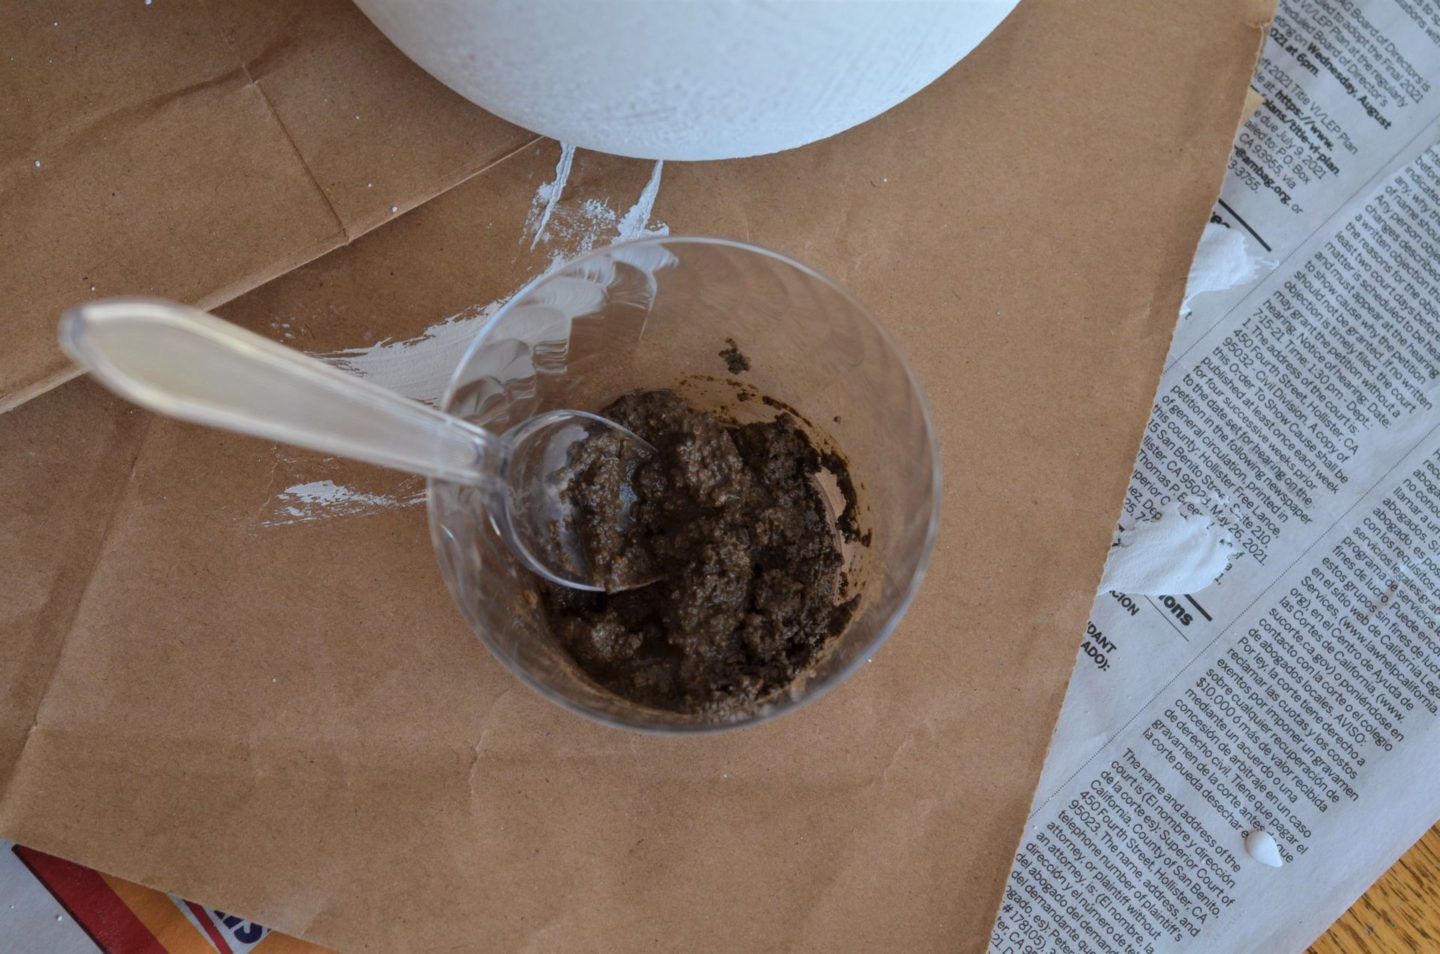
After your vase is dry, we are going to add some dirt for an “aged” look. You can skip this step if that’s not the look you’re going for. That’s another thing I like about this project. Not only is it an easy way to upcycle an old vase, but you can experiment with techniques to make it look exactly like how YOU want it to look. I took about ¼ cup of dirt and mixed in just enough water to make it damp and easily spreadable. You don’t want runny mud. Pat the mixture with the tip of your brush and then dab it on a napkin or paper to take off most of the dirt – you can always build on more dirt but taking off too much is tricky. Then, brush on the dirt in random areas. Imagine an aged vase that has had multiple owners and graced the mantle of many homes. Once you get it how you like it – you’re done! Congratulations, you have successfully upcycled your vase and now have a unique and affordable “high-end” faux pottery vase.

Looks attractive, doesn’t it? 
This is the thick, gritty texture I was going for in this project.
There you have it; an easy way to upcycle an old vase into a faux pottery vase. I imagine you could take this a step further and distress a plain terracotta plant pot or maybe make a plastic plant pot into a clay pot? If this inspires you, drop a comment and let me know what your next DIY “pottery” project will be!


This is such an awesome look for glassware. I love the pics. you make it look so easy.
Author
I’m all about upscaling on a budget. I’m glad you liked it!